6 Ways to Give Your Old Produce a Second Life

We’ve all been there. You open the fridge, and stare inside at what has become ugly produce: a bag of spinach that’s seen better days, blueberries that are starting to soften, and a lone bell pepper that’s a bit wrinkly.
What do you do with those less-than-fresh fruits and vegetables? Do you
A. Pitch them in the trash or compost?
B. Close the fridge and pretend you never saw them?
C. Find new ways to use aging produce to reduce food waste?
If you answered A or B, you’re not alone, but the “correct” (aka money-saving and sustainable) answer is C. Keep reading for six ways to use ugly produce that won’t take a lot of time, money, or energy.
What Is Ugly Produce?
Ugly produce is any fruit or vegetable that’s less than picture-perfect. Think misshapen potatoes and carrots, apples with blemishes on their skins, or awkwardly angled eggplants.
There’s nothing wrong with these vegetables and fruit. It’s just that they’re likely not the ones you’ll pick up at the grocery store or farmers market.
Ugly produce is also aging produce — the fruits and veggies that you’ve left in your fridge or on the counter a little too long. They’re not as fresh, crisp, and perky as they were when you brought them home. Or maybe they have one bad spot or are on the verge of being too ripe. (Ugly produce is not to be confused with weird-looking fruits and veggies.)
Why Should We Use Ugly Produce?
1. It saves you money
Throwing away ugly produce instead of trying to salvage it is like throwing away money. In 2021, the average American spent about $5,200 on groceries, according to data from the Bureau of Labor Statistics. That number has likely grown, as the average prices of groceries in the US spiked 11.4 percent in recent year, compared to the historical inflation rate of 2 percent annually. So learning how to preserve your produce can help you save a few dollars.
2. It cuts down on food waste
More importantly, embracing ugly produce reduces food waste. The USDA estimates that the US generates about 133 billion pounds of food waste per year. Embracing the “ugliness” helps keep food waste out of landfills and allows us to keep more of our hard-earned dollars.
One French supermarket chain turned (blemished) lemons into lemonade in 2014 as a way to reduce food waste and enlighten consumers to the beauty of beastly produce. Their marketing campaign was a viral sensation, and in 2016, Whole Foods followed suit by offering “imperfect produce” at a handful of stores.
Why would consumers reach for weather-blemished apples or gnarly yams instead of the flawless ones? Buying ugly produce saves money — and who doesn’t love that? These ugly duckling fruits and veggies sell for significantly less than their camera-ready counterparts. One common example is supermarkets selling a bag of ripe bananas at a discount.
You may also notice this trend at your local farmers market, where you can pick up “seconds” (aka ugly produce) for a steal to make homemade canned tomatoes or applesauce.
6 Ways to Use Ugly Produce
So, whether you’ve consciously chosen to buy ugly produce or your fruits and vegetables are just not aging gracefully, there is plenty you can do to turn them into something delicious. Here are six easy and tasty ways to use ugly produce, aging fruits and veggies, and all those leftover bits that seem to go to waste in the fridge.
1. Freeze overripe fruit
As fruit ripens, its starches turn into sugars. Fruit becomes more fragrant, softer, and more delicious. However, it’s a quick, steep decline from peak ripeness to fermentation (aka rotting). The adage “one rotten apple spoils the bunch” holds true, so the key to preserving your fruit is to stop that ripening process before it goes too far.
For soft fruits that you’d normally store on the counter — like pears, peaches, and plums — you can buy yourself a day or two by refrigerating them. This will keep their ripeness in a holding pattern. If you want to play it safe, freeze them instead.
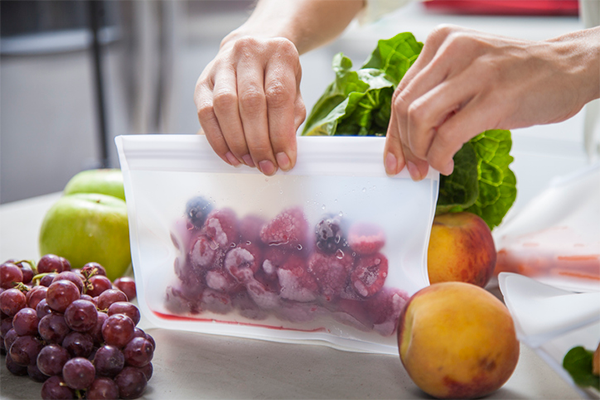
Peel the fruit if preferred, trim any soft spots (and the core and seeds), and chop as desired. Line a baking sheet with parchment, then place your fruit on it in a single layer. Freeze, then transfer to a freezer bag. (This prevents your fruit from freezing into a solid lump.)
Freeze clean, dry berries right in a freezer bag, but be sure to spread them out so they won’t stick together. And, if you have a bunch of brown or spotted bananas, peel them, break them into chunks, and freeze them.
Your frozen fruit is perfect for chia puddings, smoothies, sorbets, and muffins (thaw and drain it first). You can also thaw and puree it, then mix with chia seeds for a no-sugar-added jam!
2. Roast veggies that are starting to go
Roasting is a secret weapon cooking method: It creates a golden brown exterior that concentrates the natural sugars in vegetables (making this a perfect cooking technique to convert picky eaters), and it hides small imperfections in your veggies.
If you have root vegetables like beets that have been in your fridge or pantry too long, peel them, then toss with your favorite cooking oil, herbs, and spices, and bake at 400° Fahrenheit until golden brown. (Be sure to cut them into consistent pieces so they’ll cook evenly.)
Use this cooking technique to salvage wrinkly sweet potatoes, hairy carrots, and even Brussels sprouts that feel a bit too soft to sauté. (Try: Roasted Winter Vegetables)
Note: Sometimes old vegetables should just be discarded. Green potatoes contain an ingredient called solanine that is potentially harmful in large amounts. Peel any small green spots, and if the potato is more green than not, toss it.
3. Revive greens and herbs or turn them into pesto
We all know we should be eating more dark leafy greens, but a lot of them are delicate and spoil quickly. Sadly, there’s no saving the spinach or lettuce once it gets slimy, but if your greens (or herbs) have simply wilted, you have a couple of options for reviving them.
If you want to use your greens or herbs fresh, “shock” them by soaking in ice water for five minutes. Drain and dry them, and your greens should be good as new. (This also works for slightly limp carrots, celery, bell peppers, and cucumbers, but slice them first.)
If the ice bath trick doesn’t work or you want to use them later on, you have a couple of options. Dark leafy greens like kale and collards can be frozen (just make sure they’re clean and dry) for up to a couple of months. While you’ll lose some quality, your greens are good enough for soups, stews, or a Super Green Smoothie. Delicate but wilted greens like arugula and spinach, as well as herbs like parsley, cilantro, and basil, make delicious pesto.
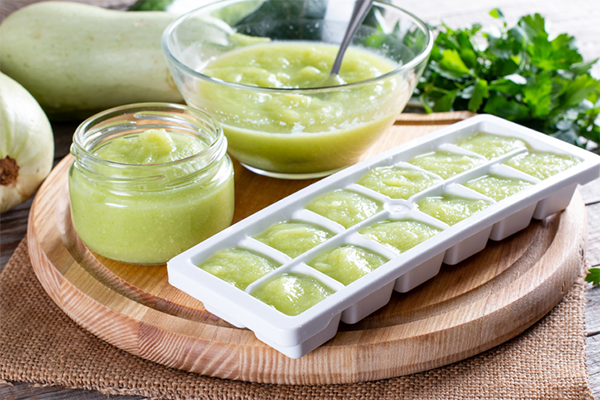
You can also preserve your herbs by pureeing them with just enough water to make a thick paste, then transfer them to ice-cube trays. Once frozen, pop the herb cubes into a freezer bag. Voilà! Single-serve herbs!
4. Turn tomatoes in tomato sauce or oven-roasted tomatoes
There’s nothing like a fresh, ripe tomato. If you find your beautiful heirloom tomato spent a day too long on the counter or your grape tomatoes are wrinkly, there are plenty of ways to salvage the deliciousness. Start by tossing any small tomatoes that are moldy and trimming any soft or bad spots from larger tomatoes. From there, try one of these preservation methods.
- Oven-roasted tomatoes: Preheat the oven to 275° Fahrenheit. Halve small tomatoes (or plum tomatoes). Toss with a bit of olive oil, salt, and pepper, and bake, cut side up, for two hours. The tomatoes will become chewy and concentrated in flavor. Toss them with this zucchini noodle dish (using the pesto you made from your wilting herbs). They’re also a rich topping for avocado toast and good with simple roast chicken and whole grains. (Or make Roasted Tomato Salsa.)
- Homemade tomato sauce: Dice all your tomatoes (you’ll need at least four cups). Heat a tablespoon of olive oil in a sauce pan along with a couple of basil leaves and crushed garlic cloves. Once the garlic is fragrant, add your tomatoes. Cover and cook on medium for 20 minutes, then lower heat to a simmer and cook until thickened (up to two hours). Season to taste with salt.
- Frozen diced tomatoes: If you can’t keep up with all the ripe tomatoes in summer, take the easy way out. Simply dice the ripe tomatoes, trimming away any soft spots. Then, fill quart-size freezer bags with the diced tomatoes, squeeze out the excess air, and freeze.
5. Sauté or roast onions and garlic for flavorful meal starters
Forgotten garlic and onions like to take matters into their own hands, continuing their life cycles by sprouting. If you find yourself with soft or just-starting-to-sprout alliums, they’ll need to be cooked. Their flavor will be too harsh to be eaten raw.
If your garlic and onion has more than a slight bit of green protruding from the top, compost it or plant it.
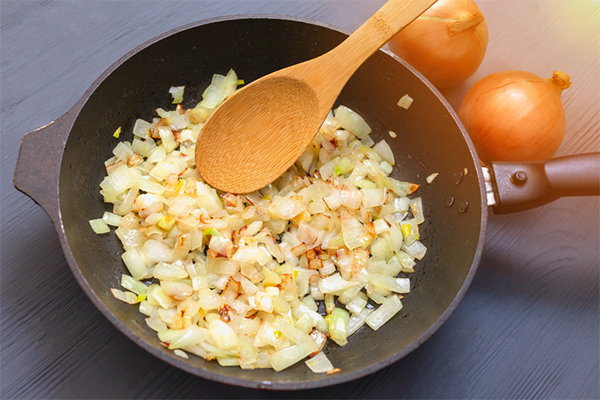
Caramelized onions: Peel and dice or slice your onions. Heat a teaspoon of olive oil (per 2 onions) in a heavy-bottomed sauce pan over medium-low heat. Add the onions and cook, stirring often, for up to an hour, until the onions are soft and golden brown. If the onions start to brown too fast or stick, add a bit of water to loosen them from the bottom.
Once the onions are soft and as brown as you’d like, season with salt and pepper. These caramelized onions can be used immediately. They also are tasty on avocado toast (or any healthy sandwich), pair well with just about any meat dish, and add flavor to pulses and whole grains.
They can also be frozen in smaller portions and added to any dish that could use a savory flavor boost.
Or, use your onions to make French Onion Dip.
Roasted garlic: Peel your garlic, slice in half, and remove the green sprout, which can have a bitter taste. Toss with a bit of olive oil, salt, and pepper. Line a baking sheet with parchment paper. Place the garlic in the middle of the parchment, seal it into a packet, then bake at 375° Fahrenheit for about 30 minutes, or until soft and golden brown.
Mash with hummus, mix into your favorite vinaigrette, or stir into steamed veggies for a sweet, garlicky flavor.
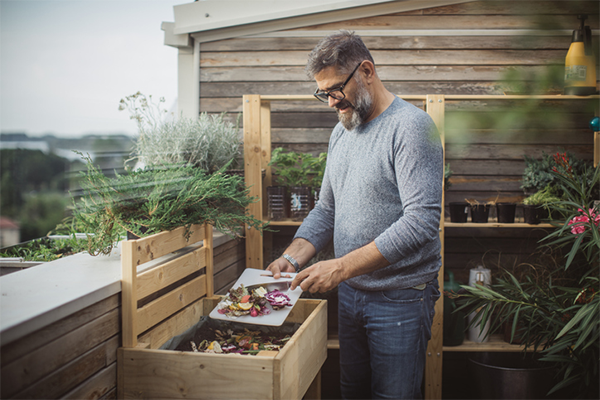
6. Turn scraps, trimmings, and leftovers into veggie broth
Do you tend to have leftover odds and ends of vegetables? The root ends of carrots, the outer layer of onions, and the stems of fennel usually end up as waste, right? Instead, save them for homemade broth.
Simply simmer your odds and ends from flavorful vegetables like onions, carrots, celery, and cabbage. You can also add potato peels (just not any green parts or the “eyes” — those should be discarded). Herb stalks and stems can be included (think: rosemary, thyme, and parsley) for extra flavor. Let your broth simmer for a couple of hours (or overnight in a slow cooker). Once cool, strain your broth, and divide into manageable servings.
If you want to freeze your broth, use plastic containers with a tight seal, and leave at least a half-inch of room since it’ll expand as it freezes. (Then turn it into Hearty Vegetable Soup or use in Braised Cabbage!)
When Should You Throw Out Ugly Produce?
Sometimes, no amount of culinary wizardry will save your aging produce. Slimy greens, celery you can bend in half, and green potatoes are better off in the compost bin. The same goes for fruit that smells like it’s fermenting, anything that’s oozing, or any piece of produce that you worry might make you sick — don’t risk it.
The Takeaway
Food waste is a big issue, and it’s one that we can help tackle. As a bonus, learning to use up aging or ugly produce can also help you save money, especially if you’re cooking for one. The result is simple and delicious dishes and condiments like homemade veggie broth, oven-roasted tomatoes, and caramelized onions.
We hope this guide will help you learn to embrace the inner beauty of your ugly produce and give your fruits and veggies a second chance at life.