How to Organize Your Kitchen Cabinets

Kitchen stuff accumulates fast. Canned goods pile up, dishes double in volume, well-meaning gifts crowd your cabinets and before you know it, your kitchen looks like an especially bad episode of Hoarders.
But it doesn’t have to be that way: With a little determination and practical planning, you can clear your kitchen of unwanted junk and completely transform your space.
Not only will an organized kitchen eliminate the need to excavate for pots and pans, it’ll also make it easier to assemble healthy meals and actually enjoy the cooking process.
Here’s how to declutter your kitchen in six steps.

Step 1: Schedule Time
Barbara Reich, professional organizer and author of Secrets of an Organized Mom, says it’s crucial to set aside enough time to properly tackle your kitchen cabinets.
If you start a major kitchen overhaul with only 30 minutes to spare, you’ll probably end up with an overflowing trash bin and an enormous pile of food spilling onto the counter.
Instead of rushing the process, check your schedule and choose a practical time to get to work. Depending on the size of your kitchen, Reich says decluttering could take two to six hours.
Step 2: Declutter One Cabinet at a Time
Suzanne O’Donnell of MyLAOrganizer.com recommends starting with one cabinet at a time. No need to “konMari” your kitchen and gather every single can of beans in one giant pile before you toss them out.
Instead, go cabinet by cabinet and shelf by shelf.

Step 3: Get Rid of Unused Kitchenware
An easy way to figure out which items to keep or toss is to ask yourself these two questions:
- Do I use this?
- Is it in good condition?
Consider your cooking habits when asking the questions. Maybe you use your slow cooker every day, but your mini loaf pan hasn’t seen the inside of your oven in years.
Only keep items in good condition that you know you use at least monthly, if not weekly.
If you don’t use it and it’s still in good shape, then donate it. If it’s damaged or doesn’t work, toss it.
“Much of what you don’t need in your kitchen can be donated, with the exception of old pans and pots that have visible scratches in the Teflon coating,” says Reich.
Of course, there are some things you can discard or donate without a second thought. Here’s the list of things Reich suggests you don’t need anymore:
- Tupperware lids with no corresponding bottoms. (Say hello to my missing socks for me.)
- Random mugs and duplicate items. (You probably don’t need four cheese graters.)
- Novelty equipment gathering dust. (Seriously — when was the last time you made ice cream?)
- Gifts you don’t love. (RIP, ceramic floral cake stand you got as a wedding present.)
Step 4: Toss Expired and Unhealthy Foods
When decluttering the edible contents of your kitchen cabinets, start with the easy stuff: Toss anything that’s past its prime.
“Look carefully at expiration dates, and toss anything that’s beyond the date,” says Reich.
Next, eliminate the foods you don’t eat often or that don’t help you live a healthy lifestyle. Been wanting to shake your pasta addiction? Now’s the time to do it.
Have a collection of canned vegetables you struggle to incorporate in meals? Swap them for fresh, raw veggies instead.
Step 5: Organize Food by Categories
Once you’ve successfully emptied your cabinets of scratched pans and expired bottles of untouched soy sauce, it’s time to organize them.
“The number one key to keeping food from accumulating and expiring before you can get to it is to organize your pantry in categories,” says O’Donnell.
How you create your categories depends on your eating habits and daily routine, but the general rule is to keep like items with like items: Store all your baking goods together, your breakfast items together, your snacks in one place, and so on.
You can even create an “Almost Expired” category to make sure food isn’t going to waste. Just designate a separate bin or shelf for items you need to eat soon before they go bad.
Step 6: Use Containers and Drawer Dividers
A few handy organization tools make all the difference between tidy kitchen cabinets and cabinets so chaotic you can’t even bring yourself to open them.
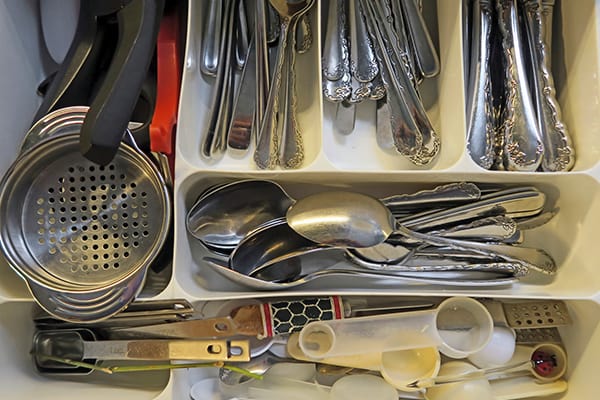
Enter drawer dividers and bins. Use drawer dividers to keep serving utensils, gadgets, and kitchen wraps (foil, plastic wrap, parchment paper, etc.) neat.
O’Donnell recommends using bins and larger containers to corral things that tend to pile up on your counters, like bags of chips, nutrition bars, or loaves of bread.
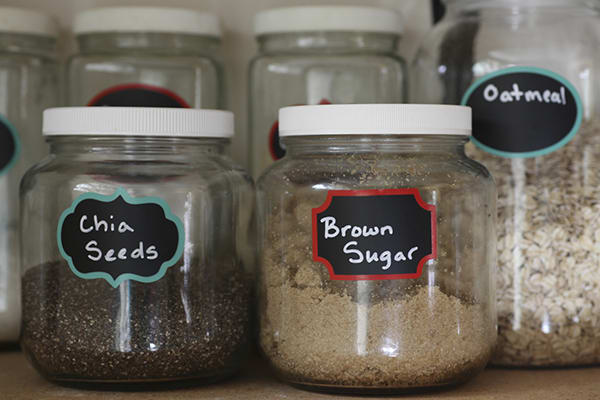
Want to go a step further? O’Donnell advises labeling your boxes and shelves so the organization is easy to maintain.
Decluttering and organizing your kitchen doesn’t have to be a monumental, entire-weekend task.
Break the process down into smaller achievable goals and you’ll have a clean, calm, and coordinated kitchen in no time.
